
How to run Invest for Excel® on a Mac computer (updated in August 2026)
Back to Frequently Asked Questions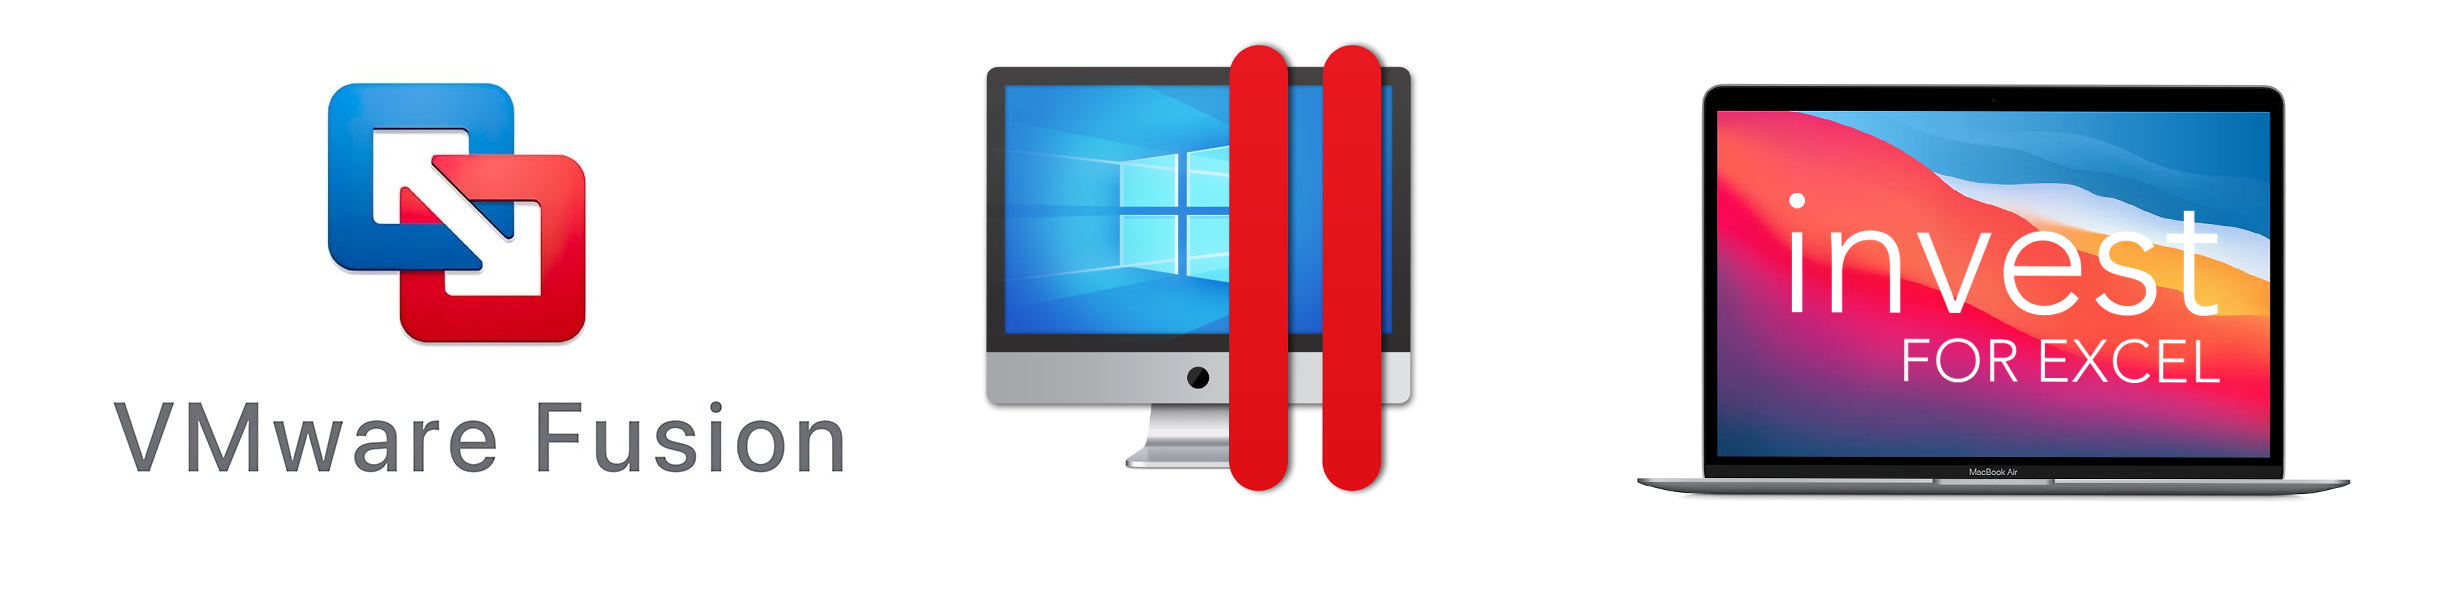
While Invest for Excel® is not currently supported natively on a Mac (Microsoft Excel for Mac), it can be run on a Mac computer using virtualization technology! In this article, we are going to review the two most popular virtualization tools for Mac:
- VMware Fusion Pro – free of charge
- Parallels Desktop – paid, but integrates Windows apps more tightly into macOS
Since November 2024, VMware Fusion Pro is free of charge for everyone – commercial, educational and personal users alike. For most users this makes it the natural first choice, and it is the option we describe first below.
There is one trade-off worth knowing before you choose. VMware removed its “Unity Mode” in Fusion 13.6 (September 2024), so with VMware your Windows desktop runs in its own window or in full screen, and you switch between macOS and Windows much like you switch between two applications. Parallels Desktop still offers “Coherence Mode”, which runs Windows applications right inside the macOS environment, in such a way that Mac and Windows environments merge together and Invest for Excel® visually appears like another Mac application. It works so well that you might not even notice that the application is running on virtualized Windows behind the scenes.
So the choice comes down to this: VMware Fusion Pro costs nothing, while Parallels Desktop costs money but hides Windows almost completely.
Note:
- The virtualization software itself is now free of charge if you choose VMware Fusion Pro. You will still need Microsoft Excel for Windows, and you should consider a Windows 11 license (see step 2);
- The setup procedure is a bit complex, therefore we recommend to ask your IT department representative to participate or guide you in the setup process;
- If needed, DataPartner is ready to help you set up the environment, contact us and reserve a free installation support session!
Step-by-step installation and setup instructions:
1. Choose and install a virtualization tool
Option 1 (recommended): VMware Fusion Pro – free of charge
On 11 November 2024 Broadcom made VMware Fusion Pro (for Mac) and VMware Workstation Pro (for Windows and Linux) free for all users – commercial, educational and personal alike. No license key is required, and the free version includes all the features of the former paid edition. You can read the original announcement here: VMware Fusion and Workstation are Now Free for All Users.
🔵 Official download page: Broadcom Support Portal. Broadcom’s step-by-step download instructions are here: Download Desktop Hypervisor (Workstation and Fusion) Products. General product information: Fusion and Workstation product page.
🔵 Direct link to the free Fusion downloads: VMware Fusion free downloads on the Broadcom Support Portal.
☝️ If your Broadcom account is not ready immediately: a free Broadcom Support Portal account is required, and new accounts go through an export compliance check. This is usually quick, but if it does not complete instantly you do not have to wait – the same installer is also hosted by reputable third-party software download sites, so you can install right away. One of the most established is TechSpot, which has been publishing tested, scanned software downloads for over 25 years: VMware Fusion Pro for macOS on TechSpot (VMware Fusion Pro 26H1, verified working in August 2026). Please note that this is not an official Broadcom download location – if your organisation’s IT policy requires software to be obtained directly from the vendor, use the Broadcom Support Portal instead.
Free products do not include support ticketing. Documentation, knowledge base articles and the Broadcom community forums are available instead.
☝️ Personal use or commercial use? During installation you will be asked for a license key, and you will be offered a choice between personal use and commercial use. Select the personal use option. This is what Broadcom’s own instructions tell you to do, and it applies no matter how you actually use the software, because the free version now covers commercial use as well. If you pick the commercial option instead, the installer will keep asking for a license number – and those are no longer issued for the free product. See Broadcom’s article Download and license VMware Desktop Hypervisor (Fusion Pro and Workstation Pro).
Option 2: Parallels Desktop for Mac – paid
Parallels Desktop remains a commercial product, sold as an annual subscription. The Standard edition list price is around 99.99 EUR / USD per year at the time of writing; Pro and Business editions cost more. Pricing varies by region and by edition, and by whether you are a student or a commercial user.
🔵 Parallels Desktop for Mac, official website: www.parallels.com/products/desktop/buy/
The reason to pay for Parallels is Coherence Mode. Once it is set up right, you will see a special Windows applications menu on your Mac’s taskbar, allowing you to run any Windows application with a click of a button, while automatically powering on the Windows virtual machine in the background. When Windows applications are not needed anymore and closed, it shuts down the virtual machine to conserve your Mac’s resources.
2. Install Windows 11 inside the virtualization tool
This process is especially easy in VMware Fusion Pro on Apple Silicon Macs (M1, M2, M3, M4 and newer). Select File > New > Get Windows from Microsoft, choose your preferred Windows 11 edition and language, and Fusion downloads the correct ARM64 installation image directly from Microsoft and builds the virtual machine for you. This built-in downloader requires Fusion Pro 13.5 or newer. Broadcom’s instructions: Download and Install Windows 11 as Guest Operating System on Apple Silicon Mac.
In case of Parallels Desktop for Mac, the installation assistant likewise offers to download and install Windows 11 for you.
About the Windows 11 license
During installation you can enter a Windows 11 product key, or simply skip that step. It is worth knowing what actually happens if you do not activate Windows:
- Windows 11 installs and runs without a product key, and there is no time limit after which it stops working;
- Security updates continue to be delivered normally;
- An “Activate Windows” watermark is displayed permanently in the bottom right corner of the Windows desktop;
- Personalization settings are locked – you cannot change the desktop wallpaper, the accent colour, or switch between light and dark mode;
- Everything else works normally, including installing and running Microsoft Excel and Invest for Excel®.
This makes an unactivated Windows 11 virtual machine a practical way to run Invest for Excel® on a Mac. A Windows 11 license can of course be purchased if you wish – activating Windows removes the watermark and unlocks the personalization settings. It is worth checking with your IT department first, as many organisations already hold volume licenses that cover a virtual machine.
If you wish to buy a license, choose the edition and you can download it immediately after purchase:
🔵 Windows 11 Home, 145 EUR: Microsoft Store
🔵 Windows 11 Pro, 259 EUR: Microsoft Store
☝️ Known issue: when installing Windows 11 in VMware Fusion, the installer may keep showing “Let’s connect you to a network” even though the network appears to be connected. The same applies to DNS resolution on macOS Sequoia 15.4 and later. In both cases the fix is to change the virtual machine’s network adapter from NAT to Bridged in the VM settings, and then continue.
3. Install the guest tools
In case of VMware Fusion, install VMware Tools inside the Windows 11 virtual machine. This gives you correct screen resolution handling, shared folders, a shared clipboard and drag-and-drop between macOS and Windows. It is recommended to install VMware Tools before you attempt to activate or license the operating system.
In case of Parallels Desktop for Mac, Coherence mode is not enabled by default and requires installing Parallels Tools for Windows inside the Windows 11 virtual machine. It can be done by pressing on the yellow triangle on the Parallels control panel (the program’s notification that Parallels Tools for Windows are not yet installed). Pressing it will insert a virtual disk into Windows 11 with the installation package. Proceed by opening the disk and running the installation package. Once it is done, it will offer to restart virtual Windows 11, and upon the new start the Coherence mode will be available. To make sure Coherence mode always starts automatically, please specify it in the Parallels settings of the virtual Windows 11 under the startup mode setting.
4. Install Microsoft Excel
The next step is to install Microsoft Excel (Microsoft Office) inside your virtual Windows 11. You have to be very careful at this step, not to confuse it with the Mac-based Microsoft Office.
Do you have a Microsoft 365 subscription? In that case you already have a license to use both the Mac and the PC versions of the Microsoft Office apps. To install the PC version of Office on your virtual Windows 11, you first need to open a Windows-based web browser, e.g. Edge (bundled with Windows 11), and using that browser log in to the Microsoft 365 portal (www.microsoft365.com) and choose to install the Microsoft 365 desktop apps. It should detect automatically that you are viewing the page from a Windows environment and offer you a download of the PC version of Office.
In case you do not have a Microsoft 365 subscription, and instead only have a Mac-based Office license, there is a chance that you would need to buy a subscription or a license that supports PC-based Office/Excel in it.
🔵 To buy as a subscription: Compare Microsoft 365 plans
🔵 To buy as a one-time purchase (Office 2024): Compare Microsoft 365 and Office products
Invest for Excel® works with Microsoft Excel 2010, 2013, 2016, 2019, 2021, 2024 or Microsoft 365 Desktop, in 32-bit or 64-bit versions.
5. Install Invest for Excel®
Once you have the PC version of Excel installed, you are ready to install Invest for Excel®. You need to download the installation package and navigate to the file using the Windows-based File Explorer, then run and install it. Upon successful installation, you will see the Invest for Excel® icon on the Desktop and in the Start menu of Windows.
If you are using VMware Fusion, start the Windows 11 virtual machine from the Fusion window and run Invest for Excel® from the Windows desktop or Start menu, exactly as you would on a regular PC.
If you are using Parallels Desktop with Coherence mode enabled, you will see an extra Windows applications icon on your Mac task panel. Pressing on it will show you a menu identical to the Windows start menu, allowing you to run all installed Windows apps. To run Invest for Excel®, press Windows Apps > DataPartner > Invest for Excel®. This will even start the virtual Windows 11 if it was not started before. All Windows-based apps will have the Parallels logo on them in the shape of two red bars, which indicates that the app is running on virtual Windows.
On the first run, Invest for Excel® will ask you to activate it – use your license number to activate your installation online in seconds.
Finally, Invest for Excel® is ready for work on your Mac!
Please contact DataPartner if you need assistance or have questions!
* All third-party software prices and licensing terms are mentioned for general information only and are subject to change without notice.